Almendras garapiñadas 1892 (Pralines)
Working with vintage recipes requires some experimentation. The UTSA special collections library first tested this recipe in 2011 and then again in 2024. Both times the recipe had to be modified greatly to achieve something resembling pralines.
In both instances, the testers concluded that the ratio of sugar to almonds wasn’t quite right. Below you can find the original recipe in Spanish and English, and the results of both tests. If you are an expert in candy making and can make this recipe work for you please let us know in the comments!
About El Cocinero Práctico
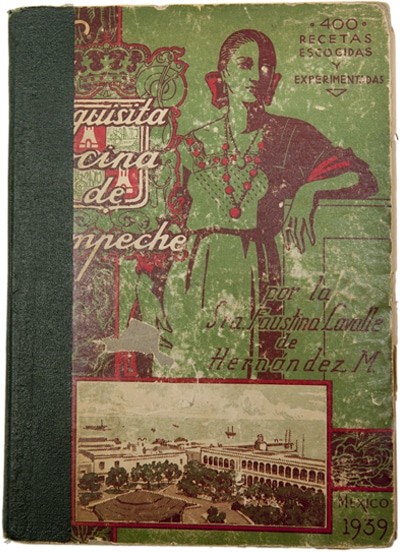
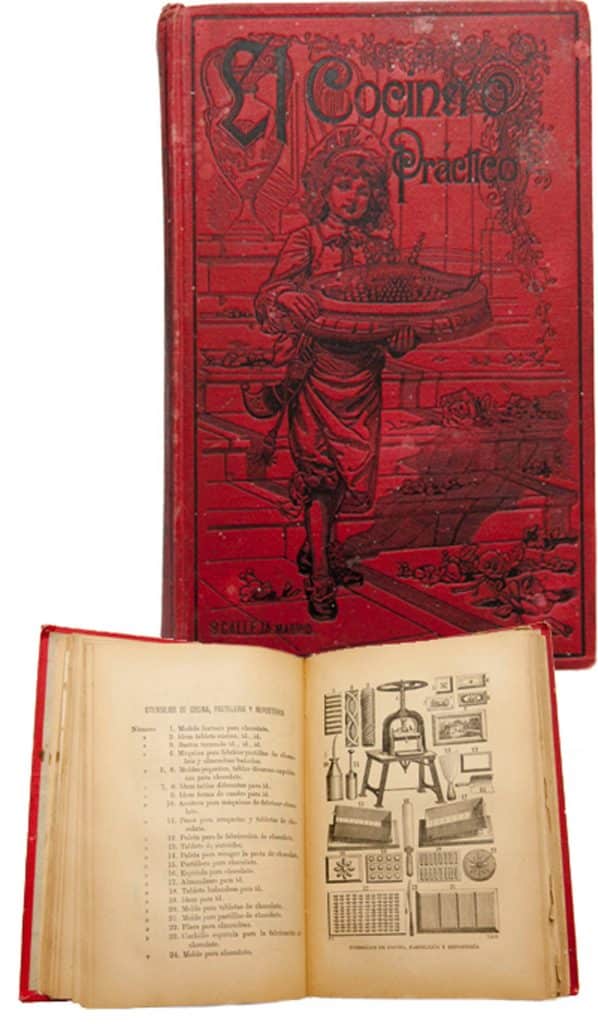
El Cocinero Práctico (The Practical Cook) was first published in Madrid by the same publisher (with editions from 1876-1915 and a reprint of the 1905 edition published in 2009). This is possibly the first edition of the dual Madrid – Mexico City imprint. The book is of special interest in showing how a traditional, popular book with multiple editions in Spain moves to Mexico and an important link in the history of the various editions
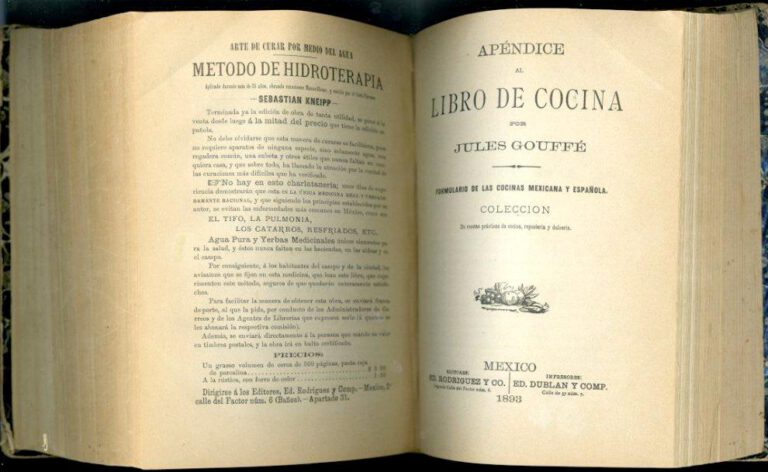
El cocinero práctico : nuevo tratado de cocina : repostería y pastelería con interesantes artículos de economía doméstica y horticultura… Madrid : Saturnino Calleja ; México : Guillermo Herrero, 1892. [TX723.5.S7 C63 1892], pp. 452-453
Original Recipe
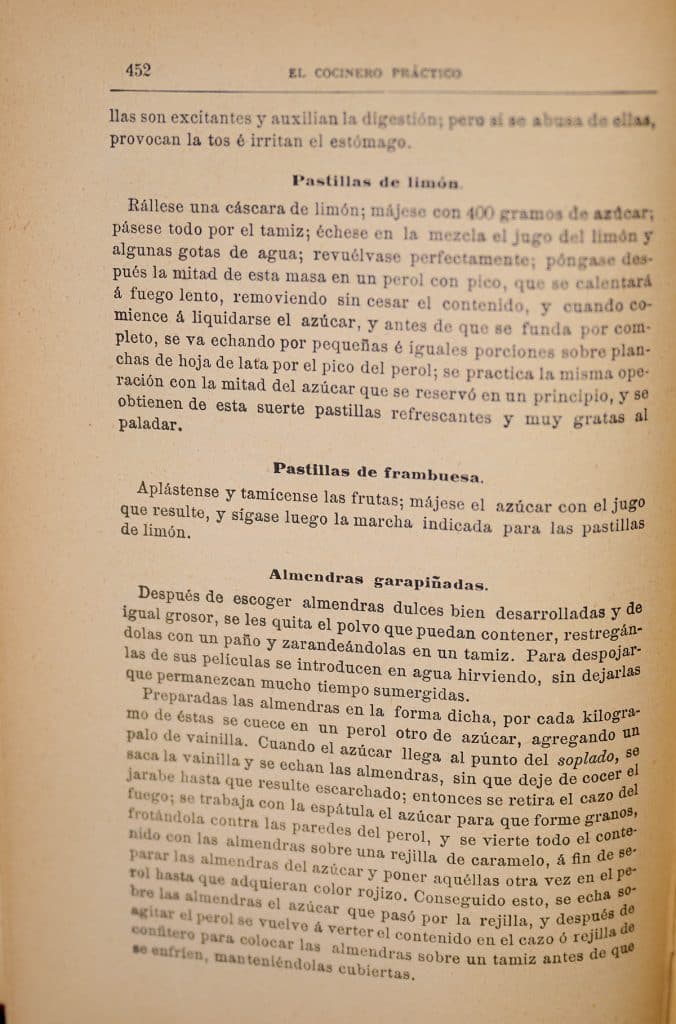
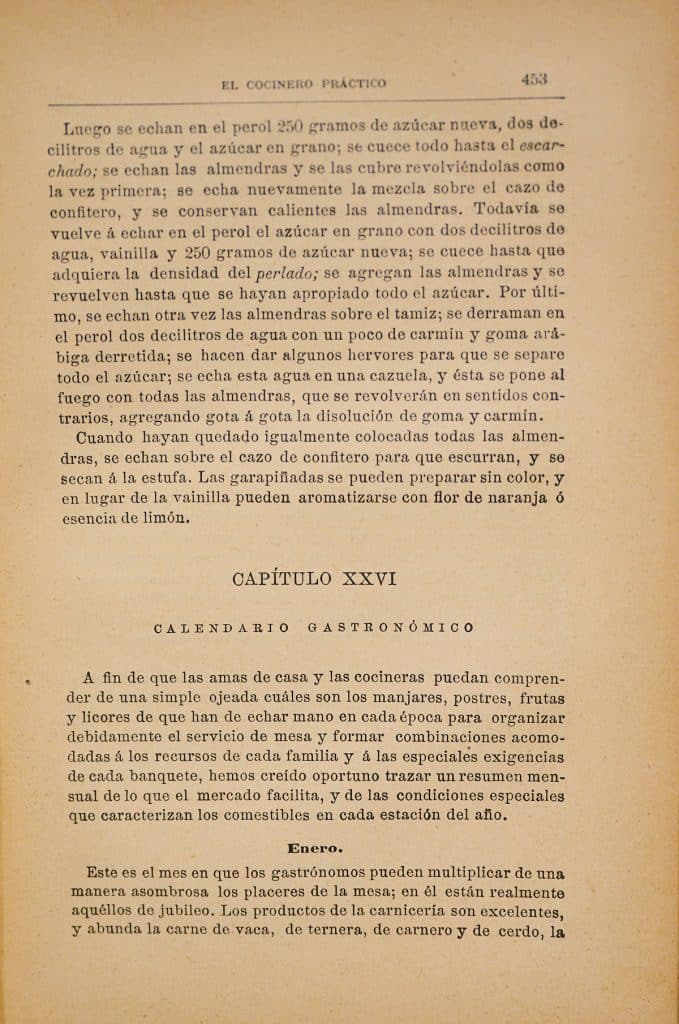
Almendras Garapiñadas (from El Cocinero Practico, pp. 452-453)
Después de escoger almendras dulces bien desarrolladas y de igual groser, se les quita el polvo que puedan contener, restregándolas con un paño y zarandeándolas en un tamiz. Para despojarlas de sus peliculas se introducen en agua hirviendo, sin dejarlas que permanezcan mucho tiempo sumergidas.
Preparadas las almendras en la forma dicha, por cada kilogramo de éstes se cuece en un perol otro de azúcar, agregando un palo de vainilla. Cuando el azúcar llega al punto del soplado, se saca la vainilla y se echan las almendras, sin que deje de cocer el jarabe hasta que resulte escarchado; entonces se retira el cazo del fuego; se trabaja con la espatula el azúcar para que forme granos, frotándola contra las paredes del perol, y se vierte todo el contenido con las almendras sobre una rejilla de caramelo, á fin de separar las almendras del azúcar y poner aquéllas otra vez en el perrol hasta que adquieran color rojizo. Conseguido esto, se echa sobre las almendras el azucar que pasó por la rejilla, y después de agitar el perol se vuelve á verter el contenido en el cazo ó rejilla de confitero para colocar las almendras sobre un tamiz antes de que se entríen, manteniéndolas cubiertas.
Luego se echan en el perol 250 gramos de azúcar nueva, dos decilitros de agua y el azúcar en grano; se cuece todo hasta el escarchado; se echan las almendras y se las cubre revolviéndolas como la vez primera; se echa nuevamente la mezcla sobre el cazo de confitero, y se conservan calientes las almendras. Todavia se vuelve á echar en el perol el azúcar en grano con dos decilitros de agua, vainilla y 250 gramos de azúcar nueva; se cuece hasta que adquiera la densidad del perlado; se agregan las almendras y se revuelven hasta que se hayan apropiado todo el azucar. Por ultimo, se echan otra vez las almendras sobre el tamiz; se derraman en el perol dos decilitros de agua con un poco de carmín y coma arabiga derretida; se hacen dar algunos hervores para que se separe todo el azucar; se echa esta agua en una cazuela, y esta se pone al fuego con todas las almendras, que se revolverán en sentidos contrarios, agregando gota á gota la disolución de goma y carmin.
Cuando hayan quedado igualmente colocadas todas las almendras, se echan sobre el cazo de confitero para que escurran, y se secan á la estufa. Las garapiñadas se pueden preparar sin color, y en lugar de la vainilla pueden aromatizarse con flor de naranja ó esencia de limón.
Translated Recipe
Pralines (from El Cocinero Practico, pp. 452-453)
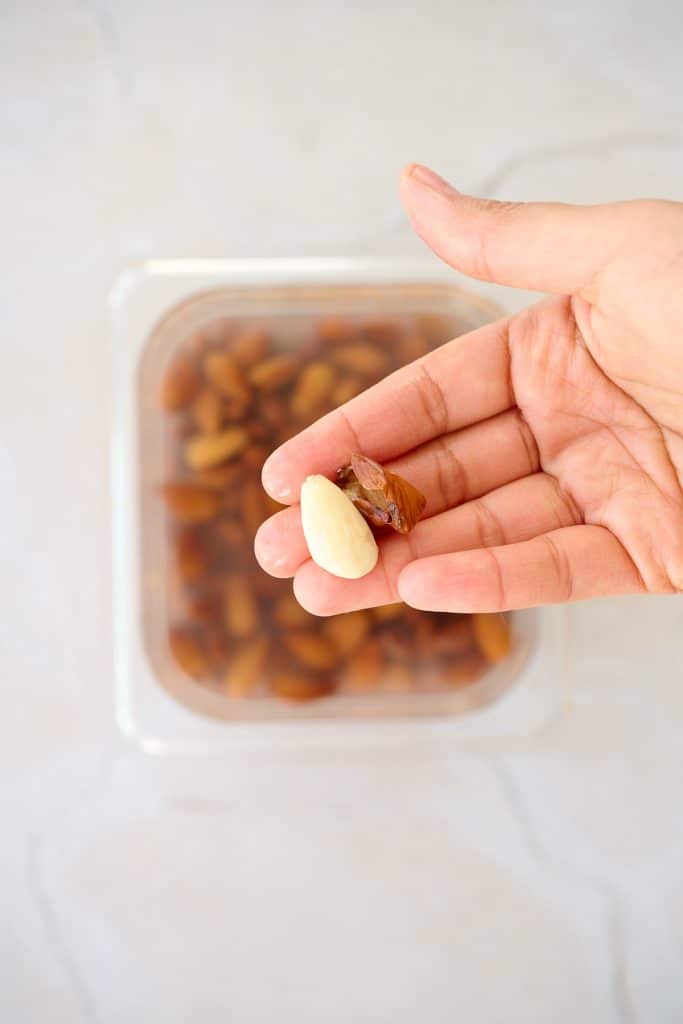
Choose large, sweet almonds and rub with a cloth and shake into a sieve to remove dust. Remove the skins by blanching them briefly in boiling water.
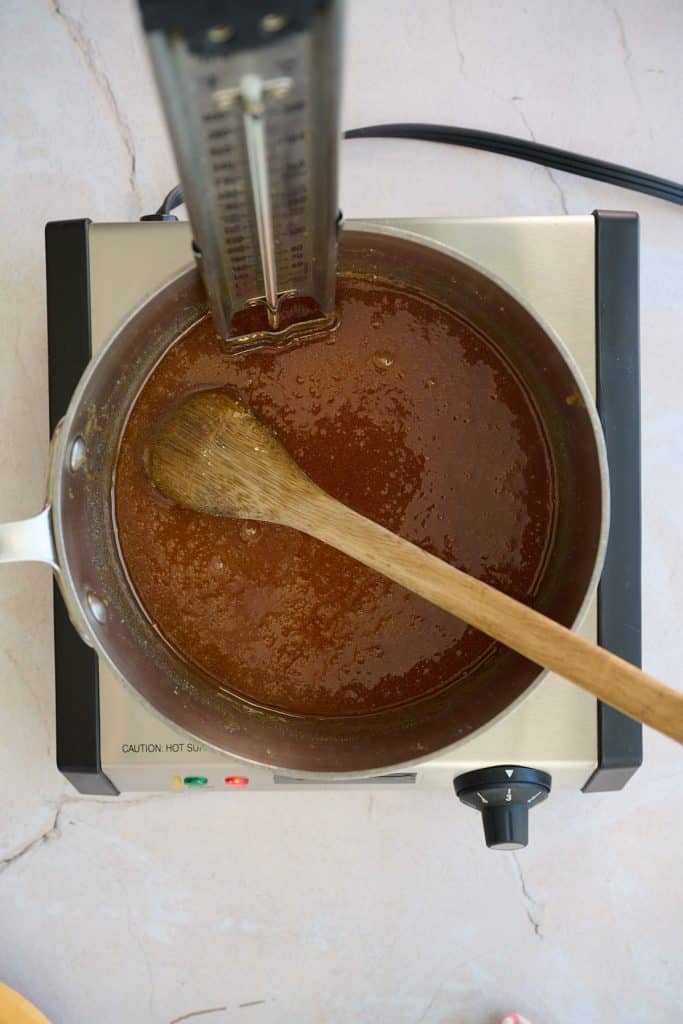
Prepared almonds in this way: For every kilogram of almonds, a kilogram of sugar should be added to the pot, along with a vanilla bean. When the sugar reaches the point required for blown sugar (320*F based on English recipes for blown sugar, but this is a guess), add the vanilla and almonds. Keep cooking the sugar till it begins to form granules, then remove the pan from the fire, working with the spatula to form sugar grains , rubbing against the walls of the bowl, and pour the entire contents with the almonds on a rack. Separate the almonds from the excess sugar and return them to the pan till they turn reddish. Collect the excess sugar from before and pour it into the saucepan again. Then place the almonds on a screen and shake through the excess sugar again.
Now, add to the pan 250 grams of new sugar, 2/10ths of a liter of water and cooked it until crystalized. Add the almonds and cover them with sugar like the first time. Remove the almonds and keep them hot. Again, heat 250 g. sugar, vanilla, and 2/10th liter of water. Add the almonds again and stir till all are well-covered in sugar. Finally, toss the almonds again on the sieve. Then pour them into the pot with 2/10th liter of water and a little food coloring and bring to a boil, stirring the almonds.
When the almonds are done, allow them to drain and dry. These pralines can also be prepared without color, and instead of vanilla can be flavored with orange flower essence or lemon extract.
Test #1
During the holiday season I usually make candy for my friends and family, so when Juli McLoone approached me about making an old Mexican praline recipe I jumped on the chance. Even though the recipe was already translated, the first thing I did was to translate the original recipe line by line. Once that was done I discovered that homemade candy making really hasn’t changed much throughout the years: bring the sugar to a hard/soft ball stage, scrape the sides so crystals don’t form, pour the candy on parchment paper and separate quickly. What I wasn’t expecting was for the whole thing to fall apart as quickly as it did.
The recipe called for 1 part sugar to 1 part almonds, 4 cups of each to be exact. I scaled it back to 2 cups of sugar plus the other ingredients and 2 cups of pecans since almonds may be hard for some to eat. The directions called for the sugar and almond mixture to come to a blown sugar stage of 320 degrees, then it was poured onto a rack for separating, then the caramelized sugar had to be gathered and re-cooked and then the nuts to be put back in and re-cooked ; this cooking process was repeated a total of three times. At first I didn’t understand why, but then figured out that the nuts were being re-coated to make a thick shell of candy. I decided that was too much work, and figured I would give them one coat then move on to the next batch.
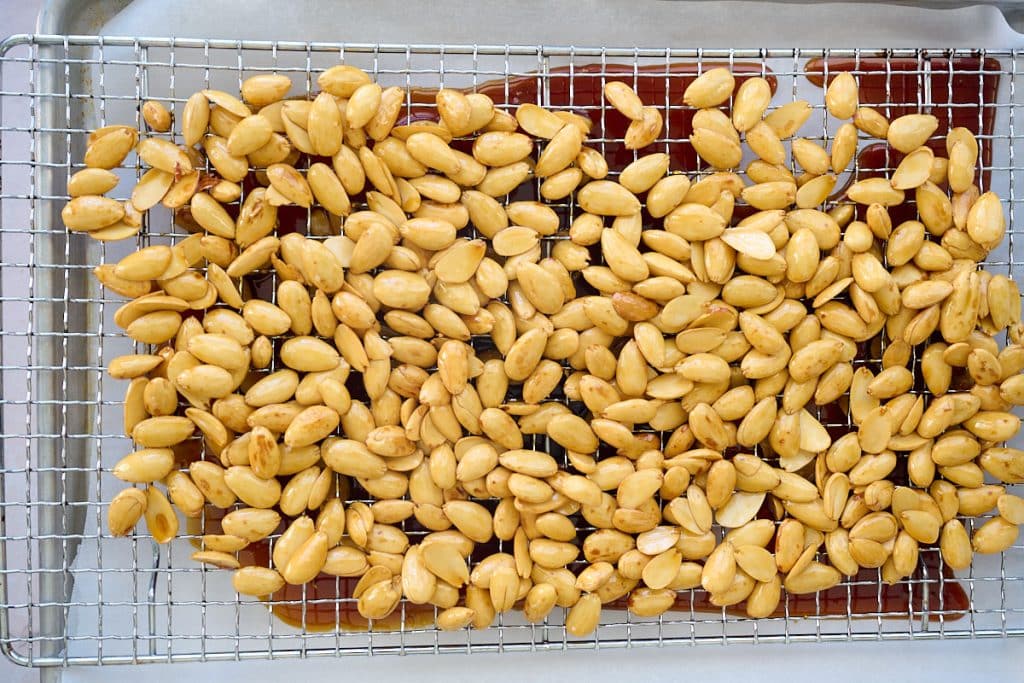
So far everything had gone well, or so I thought. I noticed that the mixture wasn’t getting thick even when it got past 320 degrees. On went the candy to the rack and on went all the caramel onto the bottom pan beneath. When I moved the pecans to the parchment paper more of the caramel slid off and what was supposed to be pralines turned into a sticky mess. If you’ve made candy before you know all this is happening real fast. I was starting to feel a little like Lucy Ricardo in the candy conveyer belt scene. I quickly set up another parchment paper station and started to move the pecans out of their gooey graves and onto the other piece of parchment, hoping to salvage something. I was left with a pan full of caramel that would have been great for dunking fruit and a huge mess of utensils.
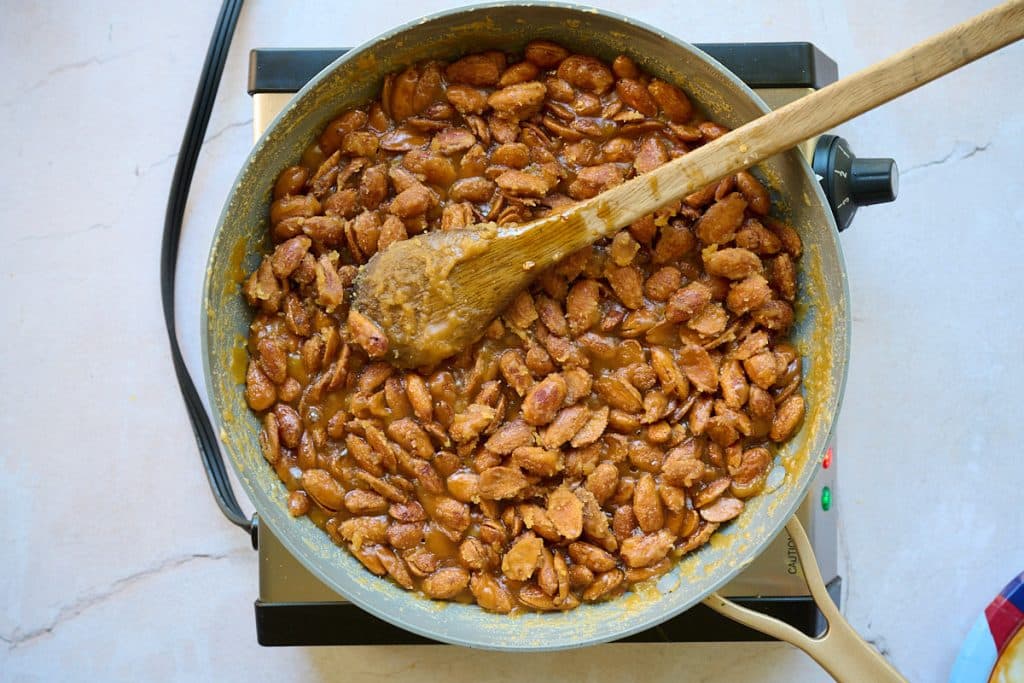
Back to square one. I cleaned up a bit, got the pecans back into the pan and started cooking them again, but this time with some of the leftover caramel. The second time out and they’re looking a lot better. They separated easily but the caramel never solidified thoroughly.
I ended up starting all over again but this time I modified the recipe by scaling back the sugar and adding brown sugar and sour cream. The final pralines came out great; sadly I didn’t take any pictures of those. The main thing I learned is that making candy really is an adventure in patience.
Test #2
I approached this test with more confidence than I probably should have. Having made praline before, I didn’t anticipate any major issues. However, the recipe turned out to be quite complex, with multiple steps that were a bit confusing. From what I understand, the repeated draining and cooking of the almonds in sugar is intended to create a very crispy, layered coating.
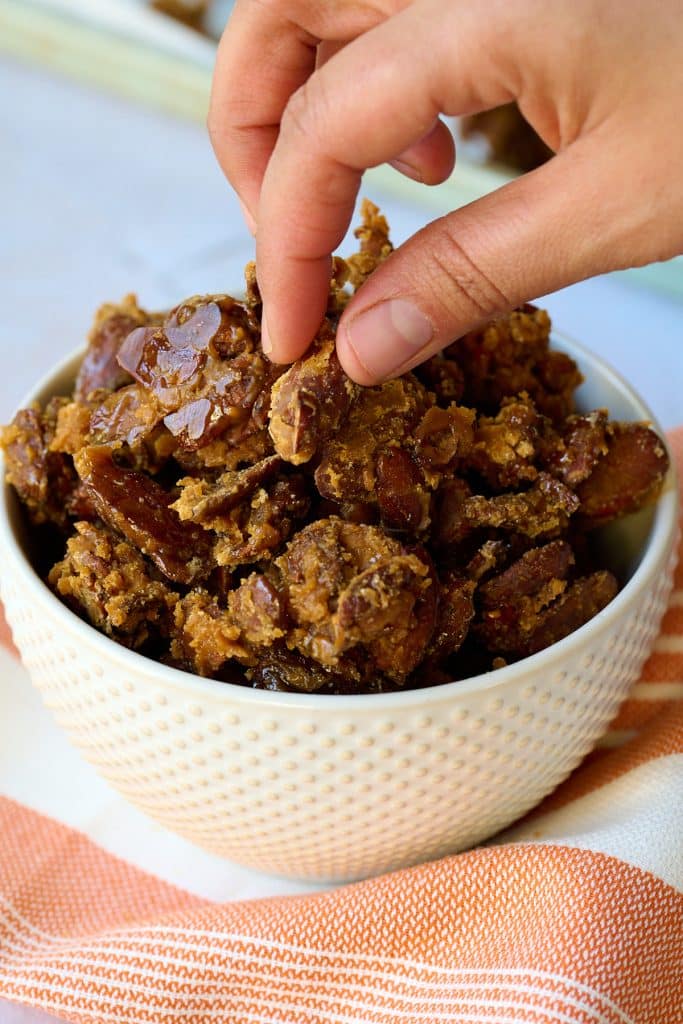
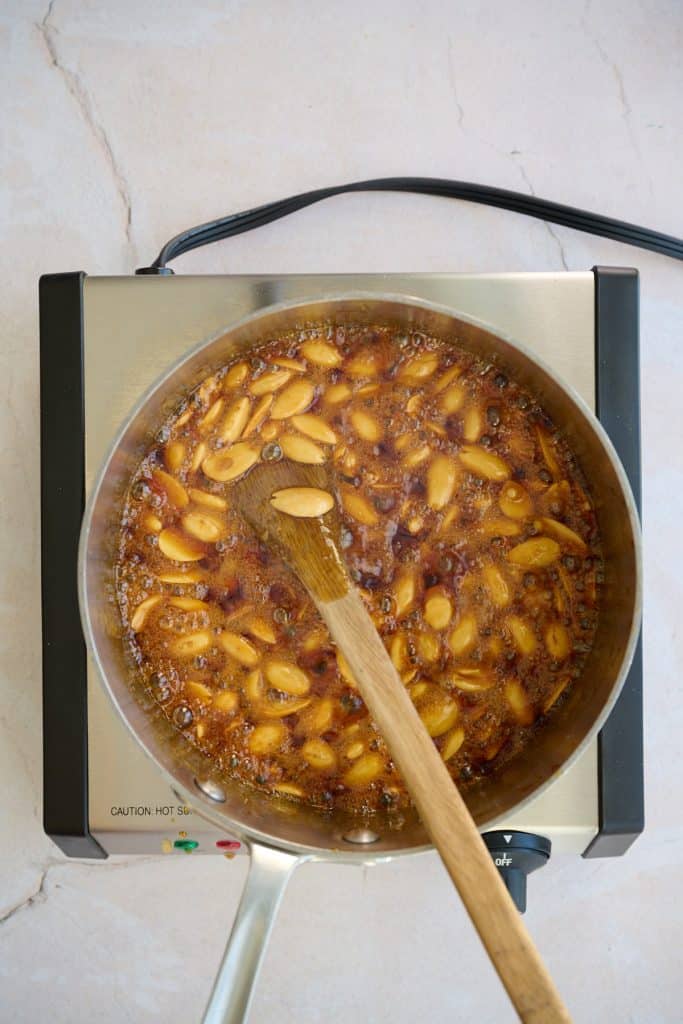
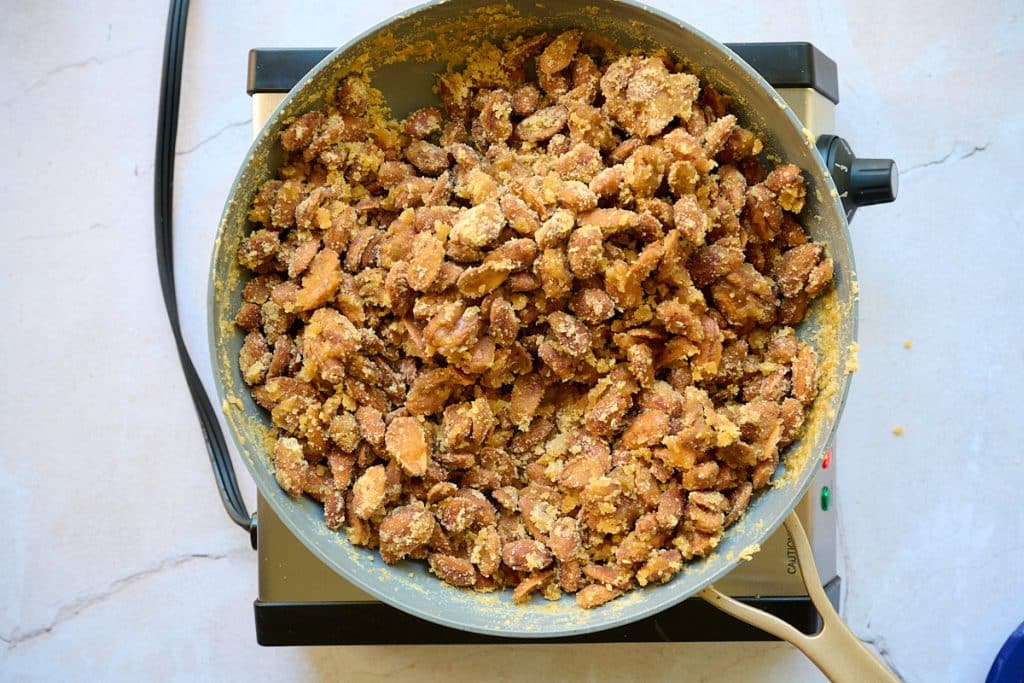
Unfortunately, the results were almost identical to Test #1. There seemed to be too much sugar compared to the quantity of almonds, leading to a sticky mixture that refused to crystallize, even when brought to the correct temperature. On my second attempt, I reduced the amount of sugar when returning the almonds to the pot, which resulted in a patchy version of almond pralines. As you can see in the photo below they’re not the prettiest, but they were very tasty!
